Microsoft Project contains many fields for storing information about the tasks and resources of your project. So much so, that it can be hard to imagine what else you would want to know.
However, there is usually a desire to create your own custom fields to display other information in your different views and reports. You can create your own fields to store text, dates, cost and other types of data.
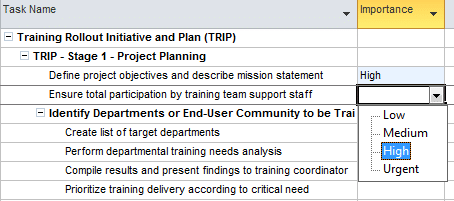
To assist data entry, a field can be created with a drop down list. You can look up the value that you need in a list making data entry easier and more accurate.
Create a Custom Field with a Drop Down List
For this example, we will create a field to be used to store the importance of each task of the project.
- Right mouse click on one of the column headings of the table and select Custom Fields.
- The Custom Fields dialog box appears. Different data types can be selected from the list in the top right corner.
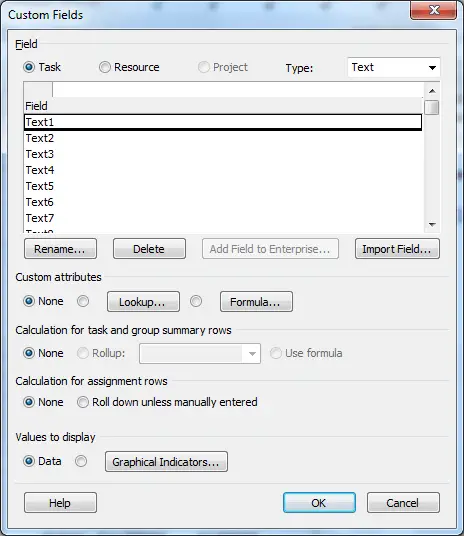
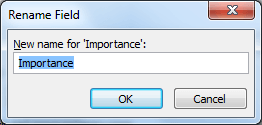
Keeping with the Text data type, select a vacant field in the top box i.e. Text1 and click the Rename button below that list.
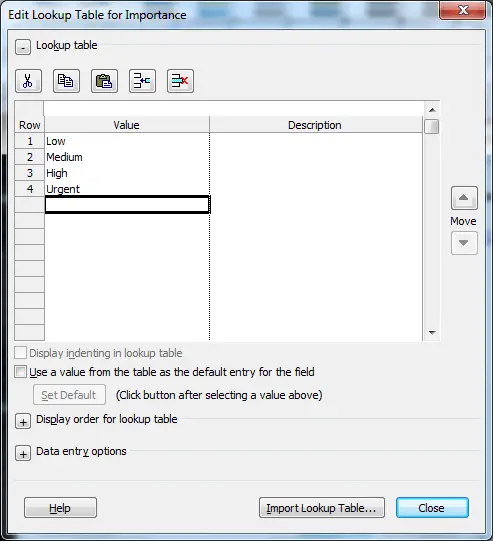
- Click the Lookup button.
- Enter each item you want to display in the list and press Enter after each one. Click Close when you have finished.
- Click Ok to save and close the Custom Field dialog box.
Insert the Importance Column to a Table
Now that the new field has been created, it needs to be inserted into the relevant tables where we need to view and edit that information.
- Right mouse click on the column header to the right of where you would like to insert the new column, and select Insert Column.
- A column appears and a list is provided for you to find and select the column you want to add. Scroll down or begin to type Importance to locate the field. The field is called Importance (Text1) so that it can be identified as a custom field.
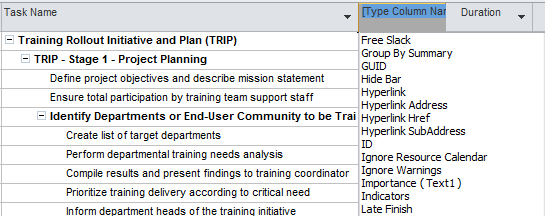
- Select the column and it appears in the table for use.


Leave a Reply